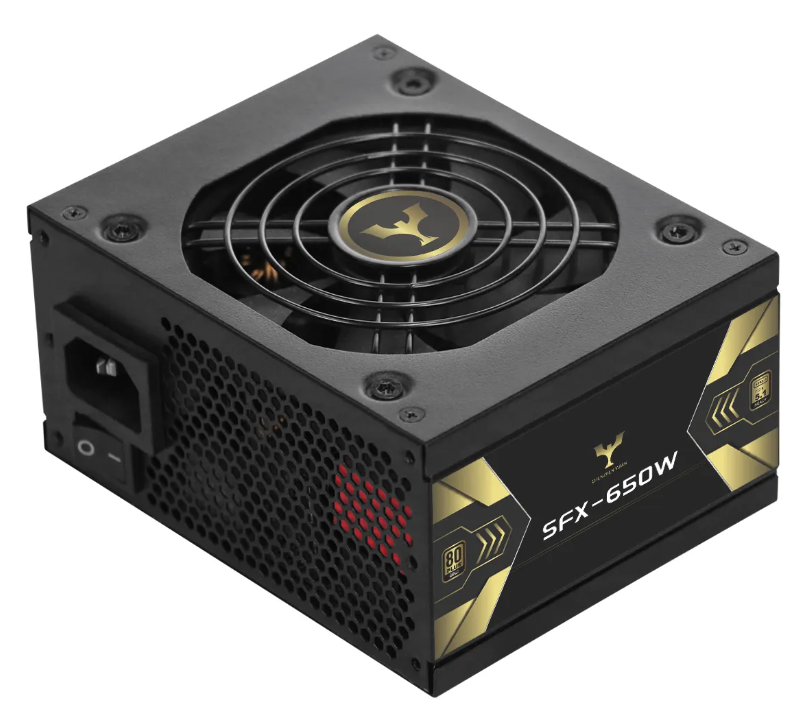
SFX Power Supply Compatibility: Form Factor, Clearance, and Power Requirements
SFX (Small Form Factor) power supplies enable compact PC builds but demand precise compatibility checks across three dimensions: physical fitment, electrical capacity, and thermal constraints.
Matching SFX Dimensions to Mini Chassis Internal Clearance and Mounting Points
Standard SFX units measure 125mm × 63.5mm × 100mm, while SFX-L variants extend to 130mm depth for higher wattage. Before installation:
- Verify chassis specifications for maximum PSU dimensions using manufacturer documentation
- Measure clearance between mounting points and adjacent components like GPU backplates or drive cages
- Confirm included SFX-to-ATX adapter brackets align with your case's screw patterns
| Factor | SFX | SFX-L | Impact |
|---|---|---|---|
| Dimensions | 125×63.5×100mm | 125×63.5×130mm | Depth clearance critical |
| Wattage Range | 450W–850W | 650W–1000W | GPU/CPU headroom |
| Fan Size | 80–92mm | 120mm | Noise/airflow balance |
Inadequate clearance risks cable compression, airflow blockage, or vibrational contact. Mini-ITX cases under 15L often tolerate only standard SFX, while larger enclosures may accommodate SFX-L for extra power.
Verifying 12V Rail Capacity and CPU/GPU Power Delivery for Modern SFX Units
High-performance components demand robust 12V rail delivery—modern GPUs like NVIDIA’s RTX 4080 draw transient spikes up to 320W (TechPowerUp, 2023). Evaluate:
- Combined 12V output: Should exceed 90% of total wattage (e.g., 720W+ on an 800W unit)
- PCIe connectors: Dual 8-pin minimum for mid-tier GPUs; triple connectors for high-end cards
- Transient response: Units with Japanese capacitors handle sub-100μs power spikes more effectively
Prioritize 80 PLUS Gold or Platinum-certified, single-rail designs for stable voltage delivery. Calculate total system draw using a reputable PSU calculator, then add 30% headroom for peak loads. Insufficient amperage causes shutdowns during gaming or rendering workloads.
Step-by-Step SFX Power Supply Installation in Compact Enclosures
Orientation Selection, Bracket Alignment, and Secure Fastening Techniques
The way we install SFX power supplies in mini-ITX cases really matters when it comes to keeping things cool. The best practice is to point the fan towards open air space. For bottom mounts this usually means pointing down, but for side mounts the fan should face inward instead. Nearly all small form factor cases need an SFX-to-ATX adapter bracket these days. Before screwing everything together, double check that the bracket sits flat against the back panel of the case. Thread those four main screws through the PSU first, then attach them to the bracket. When tightening Phillips #2 screws, go finger tight first then give it about a quarter turn extra. This helps avoid stripping the threads and keeps components from vibrating loose over time. Many newer brackets actually have longer slots built in, allowing for about 2mm movement either way. This little bit of flexibility makes a big difference when trying to route cables neatly without bending them too sharply.
Thermal Management and Vibration Damping Best Practices for SFX PSUs
When working with SFX power supplies in tight spaces, good thermal management is absolutely essential. Keep at least 25mm free space around the intake vents because when airflow gets restricted, internal temps can jump anywhere from 8 to 12 degrees Celsius according to research published in the Electronics Cooling Journal last year. This temperature rise really takes a toll on fans over time. To cut down on annoying vibrations, place rubber gaskets or silicone washers where screws meet metal panels inside the case. For systems mounted vertically, look for models equipped with fluid dynamic bearing fans that operate below 16 decibels if quiet operation matters. Never forget to position cables so they don't block exhaust paths either. Those coiled extension cables actually form heat pockets that slash efficiency by roughly 3 to 5 percent. Custom length cables work best with modular SFX units since they help maintain proper airflow throughout the system.
| Consideration | Recommendation | Performance Impact |
|---|---|---|
| Clearance | Maintain ≥25mm vent clearance | Prevents 8–12°C temp rise |
| Mounting Hardware | Use silicone-damped screws | Reduces noise by 4–6dBA |
| Cable Management | Custom-length modular cables | Improves airflow efficiency |
Cable Routing and Space Optimization for SFX Power Supplies in Mini-ITX Cases
Vertical vs. Horizontal Mounting Trade-offs in Sub-24L Chassis
The way we position SFX power supplies in those tiny sub-24L Mini-ITX cases makes a real difference for how hot things get inside and how messy cables become. Going vertical usually cuts down on cable length for those top connectors on motherboards (like the 24-pin ATX and EPS ones) somewhere around 30 to 40 percent compared to laying everything flat horizontally. That definitely helps keep things looking cleaner. But there's a catch here too. About half the time in these small cases below 20 liters, vertical positioning blocks airflow right where tall CPU coolers need it most. Putting the PSU horizontally works better with bottom intake fans, though it means dealing with some awkward cable bends right next to the GPU area. For folks running low profile coolers that stay under 70mm height, vertical is probably the way to go. However, anyone with a graphics card taking up more than two and a half expansion slots might want to flip back to horizontal orientation to avoid that annoying fan noise from turbulent air movement. Before making any final decisions, always try fitting both arrangements with modular cables first just to see what actually fits and functions properly.
| Orientation | Thermal Advantage | Cable Management Challenge |
|---|---|---|
| Vertical | Direct exhaust path for CPU heat | Straighter runs to top I/O |
| Horizontal | Unobstructed bottom airflow | Requires sharp bends near GPU |
Measure clearance between your SFX unit and side panels—maintain ≥15mm gaps to prevent recirculation of hot air in both orientations.
Troubleshooting Common SFX Power Supply Installation Issues
Having trouble installing an SFX power supply in those tight little cases? Let's tackle some common issues step by step. The first thing to check when getting random power drops is whether those modular cables are properly connected. Give all the plugs a good look, particularly that big 24-pin ATX connector and the CPU/EPS one too. They need to be pushed firmly into both the power supply and whatever component they're attached to. When systems suddenly shut down while gaming or running heavy apps, it usually means the +12V rail isn't keeping up with what the GPU and CPU need together. Most folks forget about thermal design power ratings here. If the total TDP exceeds around 80% of what the PSU promises on paper, things start acting weird. That's just asking for instability down the road.
Thermal management is critical in confined spaces. If your PSU fan ramps excessively or triggers thermal throttling:
- Ensure intake vents aren’t obstructed by cables or chassis panels
- Maintain ≥25mm clearance between the PSU and adjacent components
- Orient the fan toward open mesh panels—not heat-trapping solid panels—to avoid exhaust recirculation
Cable-related failures include:
- Incompatible connectors: While SFX units use standard ATX pinouts, always cross-check EPS and PCIe cables against your PSU’s official specifications
- Strain on ports: Over-tightened cable ties or sharp bends near connectors can damage terminals—use flexible silicone cables for tight routing
- Inadequate grounding: Metal-on-metal contact between the PSU chassis and case can cause shorts; install vibration-damping washers if included
For persistent issues, test the unit outside the case using the paperclip method to isolate chassis interference. High-quality SFX units include built-in protections (OPP/OVP), but recurring faults warrant professional assessment.
FAQ
What is the difference between SFX and SFX-L power supplies?
SFX power supplies are smaller with a standard dimension of 125×63.5×100mm, whereas SFX-L units have a depth extended to 130mm for higher wattage capability.
How do I ensure my SFX power supply fits in my mini-ITX case?
Check the manufacturer documentation for the maximum PSU dimensions your case supports, and ensure you have the necessary clearance between components.
Why does my SFX power supply shut down during heavy usage?
Shutdowns during heavy usage are often due to the 12V rail not supporting the GPU and CPU’s combined power demand. Consider a PSU with a higher wattage if exceeding the TDP.
What should I consider for optimal cooling of my SFX power supply?
Maintain at least 25mm of clearance around the power supply, manage cables to avoid blocking airflow, and use silicone damped screws to reduce vibrations.